How to use the Nostr social network via the iris.to web client
25 Apr 2023Why Nostr?
Social networks like Twitter, Facebook, Whatsapp, and others are run by companies. When using these networks to stay in touch with friends
- You have to trust the company with the content of your conversations.
- Usually the companies mine the data and inject targeted advertising into your feed.
- Secret algorithms are used to emphasize or de-emphasize information and one has to trust the company that it is not using these mechanisms to influence public opinion.
However there is now an alternative called Nostr.
- Nostr is an open protocol and a network of participating relays and clients.
- In a similar fashion as Bitcoin, the network is distributed (i.e. there are multiple relays).
- Accounts are just a pair of secret and public key. I.e. similar as with Bitcoin there is no registration using email and/or mobile phone number required.
- Because users are not bound to a particular client (or relay), they can without effort switch clients and relays if the interface becomes cluttered with ads or if the quality of service is low in any other way.
- Nostr even lets you add Bitcoin Lightning payment links to all of your post so viewers of your post can give you small tips if they like your content.
I have tested a few clients (for desktop and web) and at the moment in my opinion the web application iris.to is the best choice. Now I am going to give you a non-technical guide on how to get started using this web application.
Using the Iris.to Nostr client web application
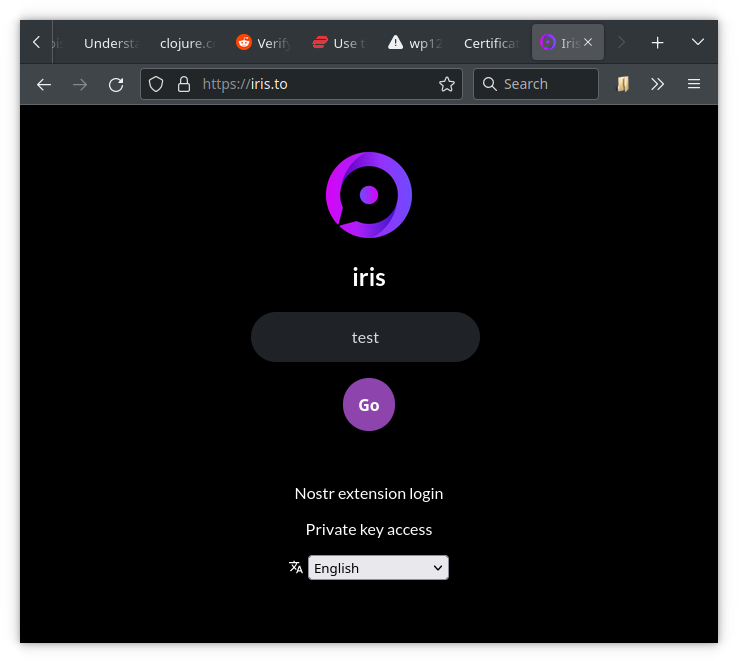
When opening the website the first time one is greeted with a login page.
The login page asks you for your display name and here I just entered test for demonstration purposes.
When clicking Go, the web application creates a public and private key pair.
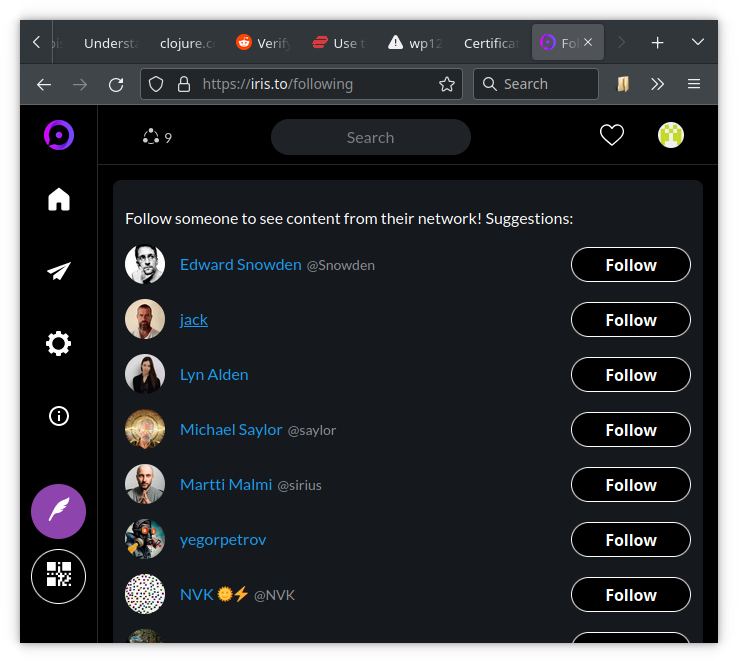
The next page shows you a selection of popular accounts which you can choose to add to your feed by pressing one or more of the Follow buttons.
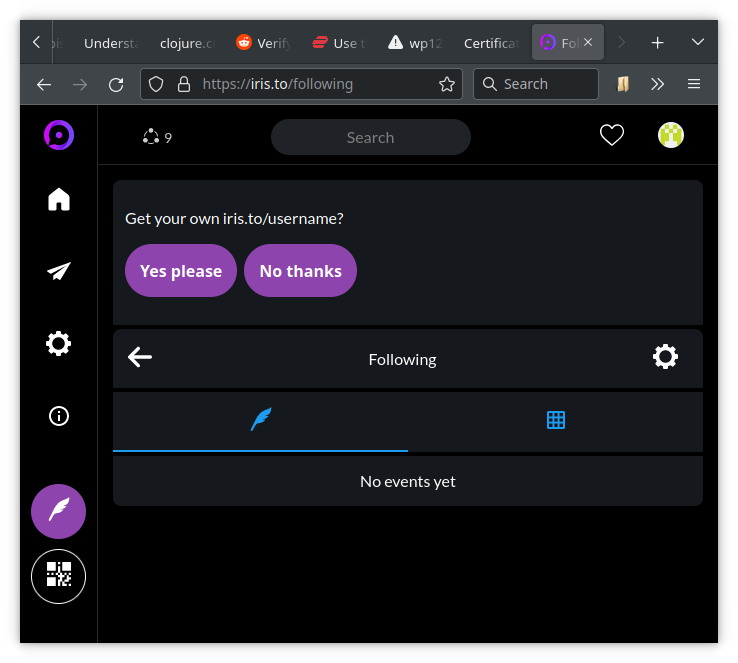
The next page lets you choose a unique user name for the iris.to website.
If you for example choose testit, you get a human-readable Nostr address (a so called NIP-05 name) called testit@iris.to.
Of course you can always choose to get a new Nostr identity from another website.
If you have a private homepage with the URL https://myhomepage.org, you can even create your own Nostr identity testit@myhomepage.org.
More about this later.
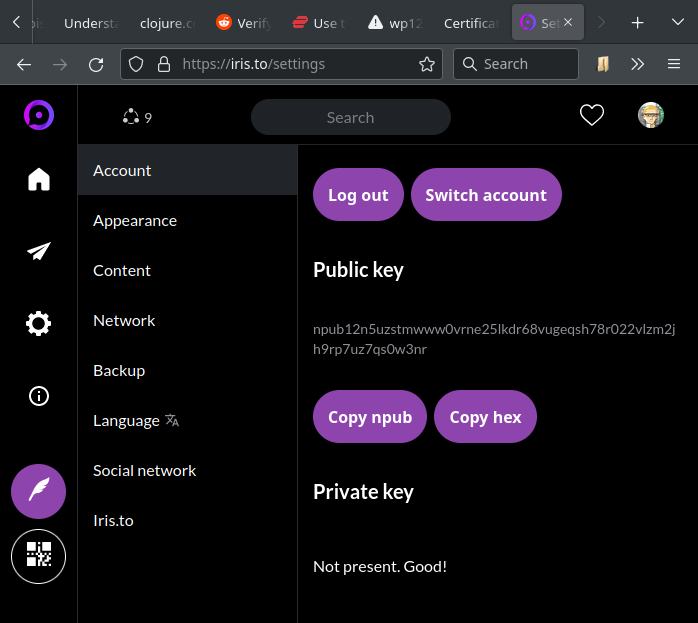
If you navigate to the account page, you will see your public key, which is a long string starting with npub....
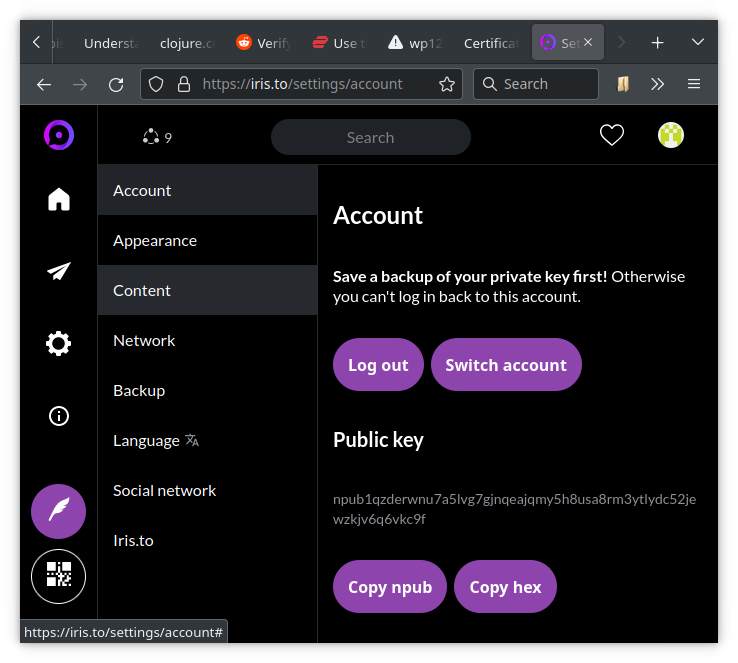
If you scroll down, you will see a button to copy your private key to the clipboard.
The secret key is a long string starting with nsec....
Now is a good time to store this private key securely, otherwise you will permanently loose access to this account.
If you loose your secret key, your only option is to start over with a new account.
You will need this key if you get a new PC or if you want to use Nostr on another device or client.
Depending on your browser’s privacy settings, you might need the key next time you restart the browser.

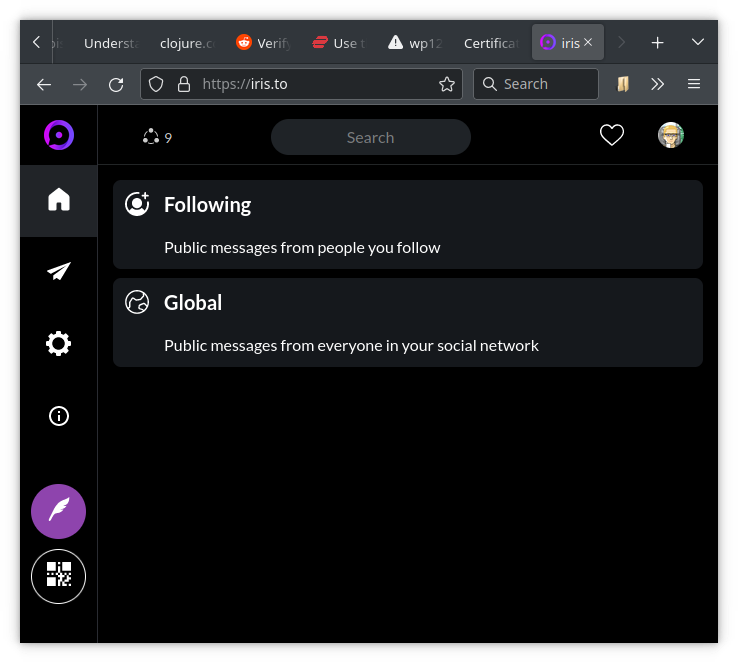
When clicking on the home icon, one gets presented with two options:
- Following: show messages from accounts you follow
- Global: show messages from your extended social network
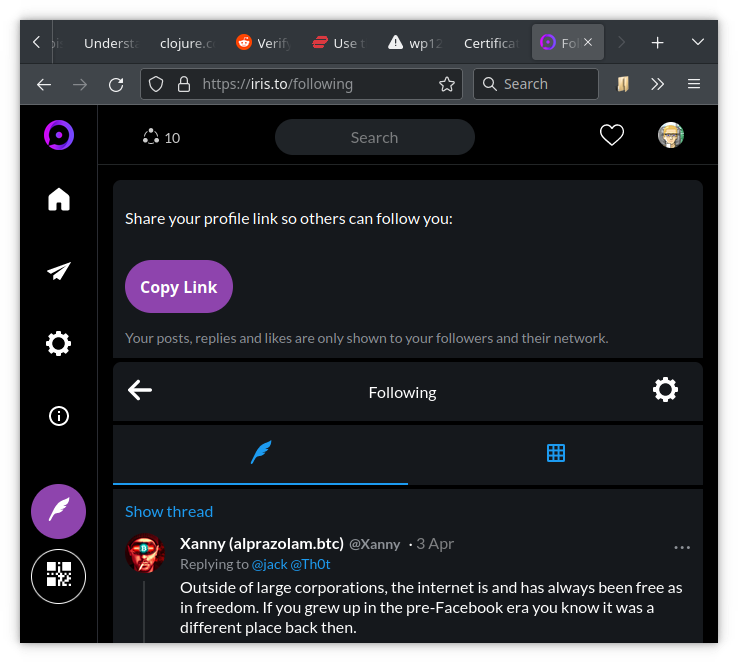
When clicking on Following, you will see a real-time feed from accounts you follow.
Also the top of the page shows you a button to copy a link to your public feed to the clipboard.
If you haven’t chosen a human-readable Nostr identity, the link will be something like https://iris.to/npub....
If you have chosen the name testit, your public link will be https://iris.to/testit.
If you are using your private homepage to create a Nostr identity, you can also use https://iris.to/testit@myhomepage.org as public link.
That’s it :)
Enjoy!
Also you can follow me.
BTW, if you are looking for new type of content, you can search using the hash-tag #grownostr.
BTW, if you want to send/receive zaps (small tips using Bitcoin Lightning), I can recommend the Alby web wallet.
Advanced Users
This section is for advanced users only and is purely optional.
Nostr extension login (somewhat advanced)
You might have noticed that in my screenshot the login page has a clickable Nostr extension login link which makes login easier.
This is because I am using the Firefox extension nos2x-fox which manages logging in without revealing the private key to the web application.
In my case if I go to the account page, there is no option to copy the private key because the web application does not know it.
In a similar fashion, desktop clients can post messages to relay servers without revealing the private key.
Nostr address using private homepage (more advanced)
Note that the account page also has a Copy hex button which lets you copy your public key in hexadecimal form.
In order to use your homepage to give you a check mark verifying the Nostr address testit@myhomepage.org, you need to place a JSON file at https://myhomepage.org/.well-known/nostr.json with the following content:
{"names":{"testit":"<your public hex key>"}}Also you need to enable CORS.
You can do this by adding a .htaccess file with the following content in the .well-known folder:
Header set Access-Control-Allow-Origin "*"
Header set Access-Control-Allow-Methods "GET"
Header set Access-Control-Allow-Headers "Content-Type, Authorization"