Installing Debian 11 (bullseye) on a physical machine
04 Sep 2021This is a summary on how to install Debian on a physical machine (as opposed to a VM).
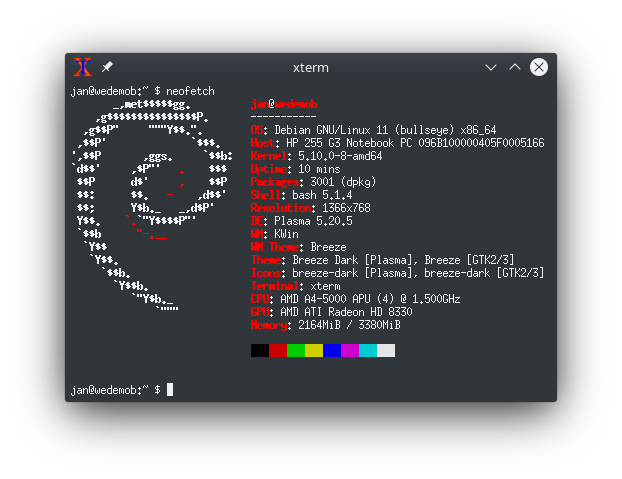
I installed Debian 11 with KDE desktop on my HP 255 G3 notebook.
Because my computer has an AMD GPU it is recommended to download the unofficial Debian image with firmware. The unofficial image also helps with Wireless adapters which frequently require proprietary firmware. I downloaded the image which is 4 GByte in size and wrote it to a USB stick:
sudo dd if=firmware-11.0.0-amd64-DVD-1.iso of=/dev/sdbReplace /dev/sdb with your correct USB location! You can see the location in the log (run sudo dmesg) after plugging it in.
Under Windows you can use a tool such as Rufus to create a bootable USB stick.
I usually create a list of packages of my current system so that I can later install the same packages on the new system.
aptitude search '!~M ~i' -F '%p' > install.txtI rebooted the computer. My laptop uses UEFI secure boot so you need to press Escape and then F9 to get a list of bootable devices. The Debian installer image on the USB stick should show up in the list. Select it and press return. I proceeded to use the graphical installer.
The Debian installer can shrink Windows partitions if you want to set up dual boot. Note that you need to disable Windows fast startup, otherwise your Windows file system will be in a hibernated state.
On my machine I created a swap partition about the same size as the computer memory.
I already have a 16 GByte root (/) ext4 partition (should be a bit bigger ideally) and a large home (/home) ext4 partition.
I just format the root partition and simply mount the home partition without formatting.
After setting up the users I can already continue using the system.
I noticed that even the unofficial image is missing some firmware. So I cloned the Linux firmware repository and copied the firmware files:
git clone --depth 1 https://git.kernel.org/pub/scm/linux/kernel/git/firmware/linux-firmware.git
cd linux-firmware
sudo make install
I then proceeded with the instructions on how to set up Plymouth boot splash.
Furthermore I added deb-multimedia.org to the package sources and updated the multimedia software.
Finally a few more tweaks:
- I installed plasma-browser-integration and the corresponding browser addon (available for Firefox and Chrome/Chromium)
- I installed ffmpegthumbs and kdegraphics-thumbnailers and then enabled the thumbnail generators in the Dolphin settings
- I installed bleachbit and run it to clean up unused disk space
- You can reduce the system swappiness to 10
- In the BIOS I was able to change the order of the UEFI boot files so that Debian/Grub is started by default
I hope this installation summary is useful to you! Enjoy!